Mastering Day 27: What, Why & How
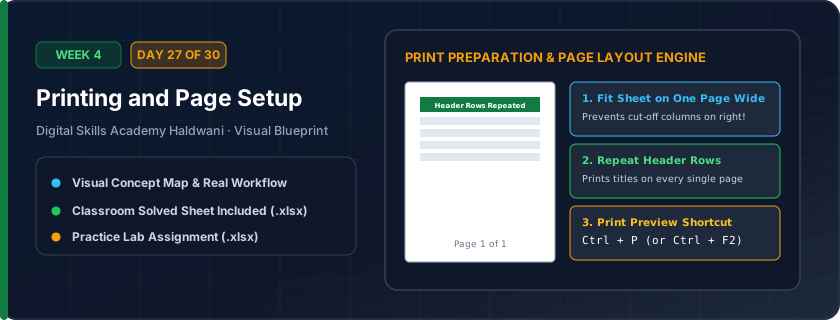
Preparing a worksheet for crisp paper printouts or clean PDF exports without stray columns spilling onto awkward extra pages.
Sending a client or boss a PDF where Column G spills onto a second blank page looks amateurish and wastes company paper. Professional operators format prints before exporting.
"Never print without Page Break Preview! Set Width to 1 Page, and lock 'Rows to repeat at top' for multi-page reports."
What You Will Master Today
- Setting and clearing Print Area to print only selected tables
- Page Orientation: Portrait for tall lists vs Landscape for wide reports
- Scaling to Fit: 'Fit All Columns on One Page' to prevent orphan columns on page 2
- Print Titles: Repeating top header rows on EVERY printed page of multi-page reports
- Exporting to professional PDF format via File > Export
Step-by-Step Practical Walkthrough
Select your table range and click Page Layout > Print Area > Set Print Area.
Go to View > Page Break Preview to visually inspect blue dotted page boundary lines.
Press Ctrl + P to open Print Preview.
Under Scaling dropdown, choose 'Fit All Columns on One Page'.
In Page Layout > Print Titles, select '$4:$4' in 'Rows to repeat at top'.
Haldwani Corporate Payroll - 50-Employee Monthly Salary Register (Print Setup)
Study the completed reference worksheet below. Every column illustrates the standard formatting, formula structure, and alignment applied by professional office operators.
| Emp ID | Employee Name | Designation | Basic Pay (₹) | HRA (₹) | DA (₹) | Gross Pay (₹) | PF Deduction (₹) | Net Pay (₹) |
|---|---|---|---|---|---|---|---|---|
| EMP-01 | Aarav Rawat | Senior Manager | 45000 | 18000 | 9000 | 72000 | 5400 | 66600 |
| EMP-02 | Bhumika Joshi | Assistant Manager | 35000 | 14000 | 7000 | 56000 | 4200 | 51800 |
| EMP-03 | Chetan Negi | Team Lead | 30000 | 12000 | 6000 | 48000 | 3600 | 44400 |
| EMP-04 | Deepak Arya | Executive Analyst | 24000 | 9600 | 4800 | 38400 | 2880 | 35520 |
| EMP-05 | Ekta Bisht | Operations Associate | 20000 | 8000 | 4000 | 32000 | 2400 | 29600 |
School Examination Marksheet Print & PDF Export
- Task 1: Set the Print Area to encompass only the marksheet table.
- Task 2: Change Orientation to Landscape in Page Layout tab.
- Task 3: Configure Scaling: Select 'Fit All Columns on One Page' in Ctrl + P print preview.
- Task 4: Configure 'Rows to repeat at top' to row 4 under Page Layout > Print Titles.
- Task 5: Save and export as PDF file using File > Export > Create PDF/XPS.
Exercise Data Template Preview: Download the .xlsx file below and execute each task independently.
| Roll No | Student Name | Hindi | English | Maths | Science | SST | Total | Percentage | Result |
|---|---|---|---|---|---|---|---|---|---|
| 101 | Aarav Rawat | 85 | 88 | 94 | 90 | 86 | 443 | 0.886 | Pass |
| 102 | Bhumika Joshi | 90 | 92 | 96 | 94 | 91 | 463 | 0.926 | Pass |
| 103 | Chetan Negi | 68 | 72 | 70 | 65 | 74 | 349 | 0.698 | Pass |
| 104 | Deepak Arya | 75 | 70 | 68 | 72 | 69 | 354 | 0.708 | Pass |
Always check 'Page Break Preview' (bottom-right status bar icon) before printing. You can manually drag the blue boundary lines to force tables onto 1 page!
Need 1-on-1 Guidance on Day 27?
Join our hands-on classroom lab sessions at Digital Skills Academy in Haldwani. Every student receives a dedicated PC workstation, live instructor reviews, and interview prep.